- Download the VIRB app on your smart phone. It is available for both iOS and Android devices.
- Turn the WiFi settings on the camera on in order to connect to the application.
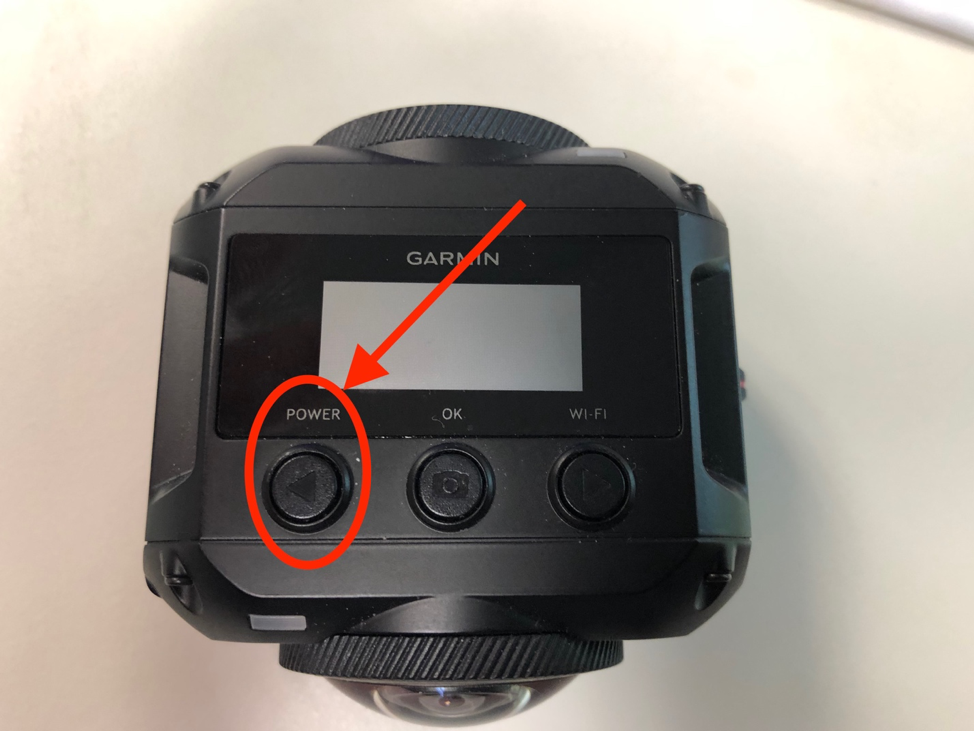
- Power on the camera using the Power button located on the top of the camera on the left side. Press and hold this button and the camera will turn on.
- Press the button on the right side of the top of the camera under the Wi Fi heading.
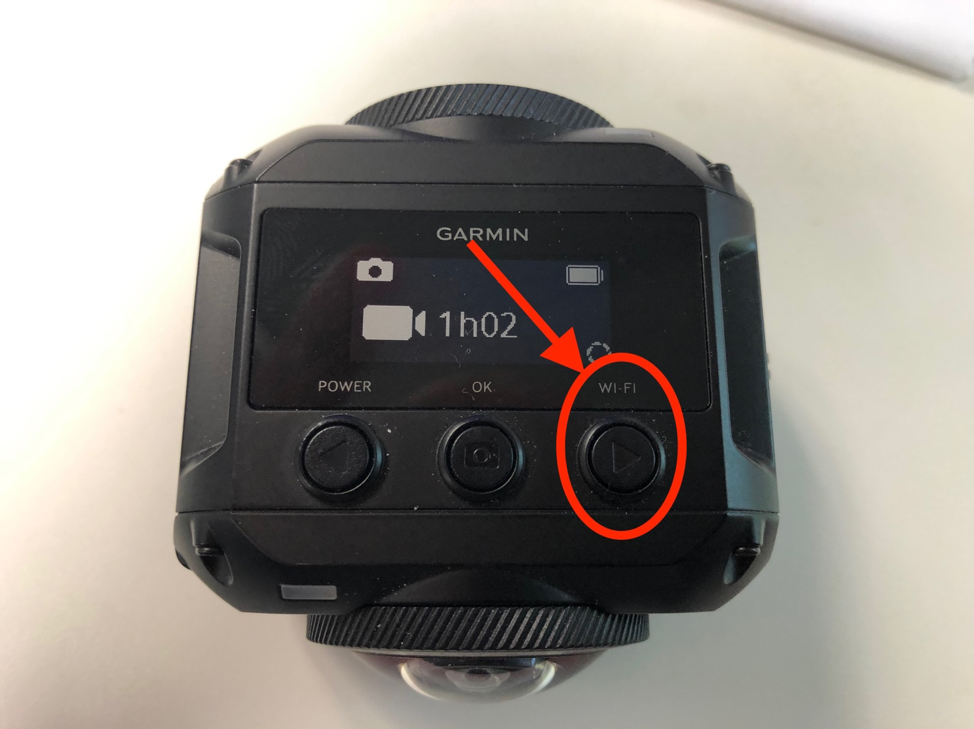
You will see the display on the camera change. This screen will allow you to cycle through various camera settings so that you can change them.
- Keep pressing the button until you cycle through to the Wireless settings.
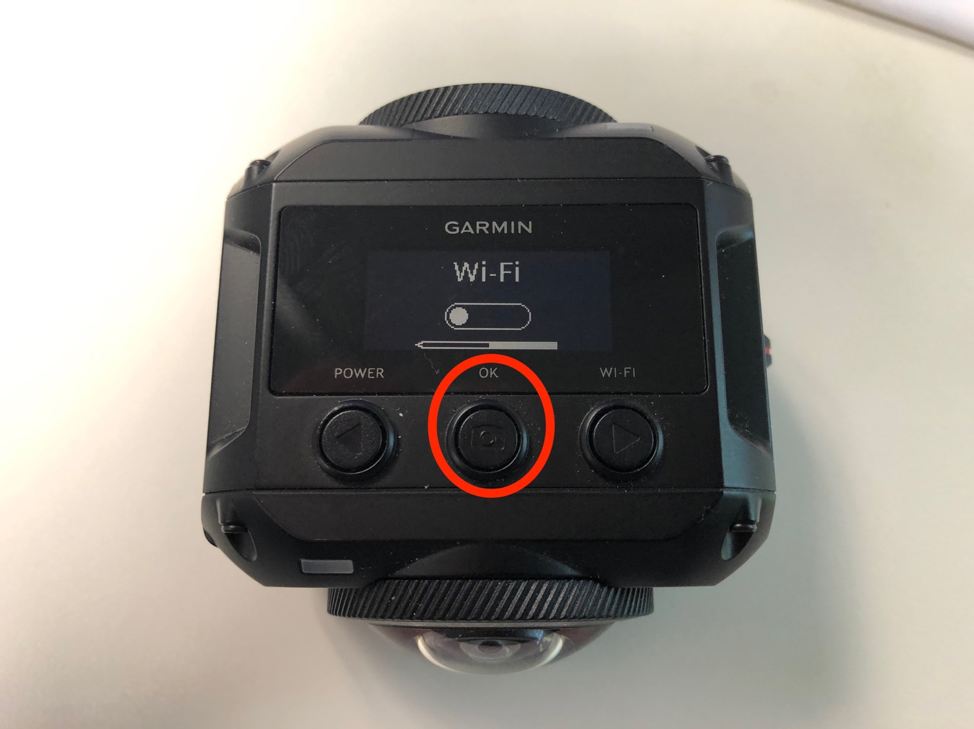
- Once there, press the center button under the OK heading.
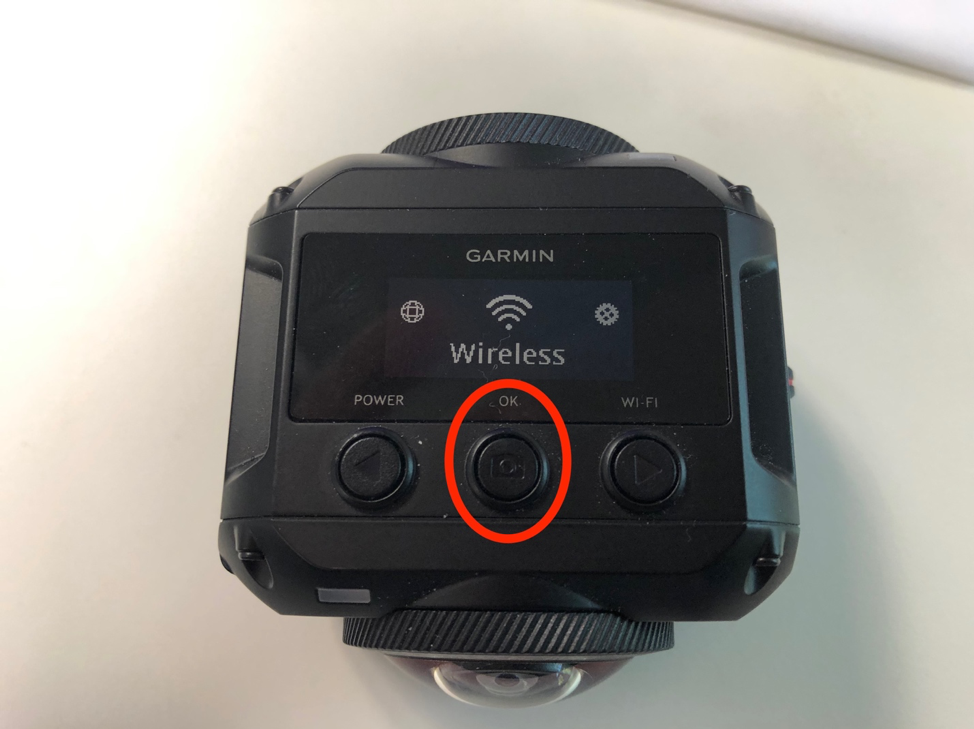
- On the next screen, press the OK button again to go into the Wi Fi settings.
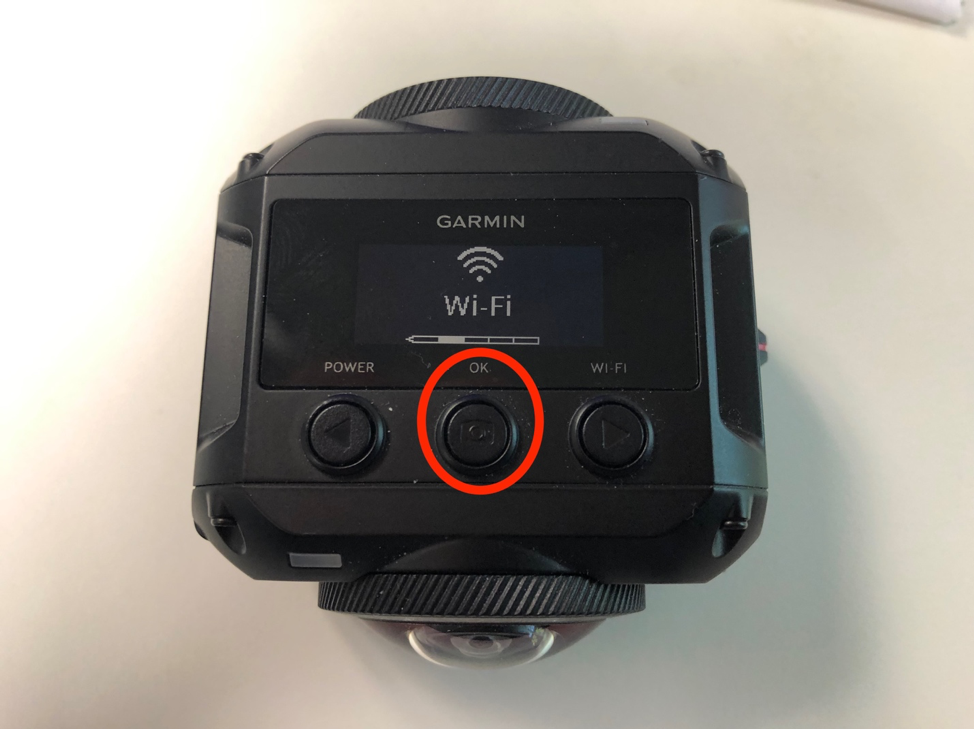
- Press the OK button one more time on the next screen to start to turn the Wi Fi on.
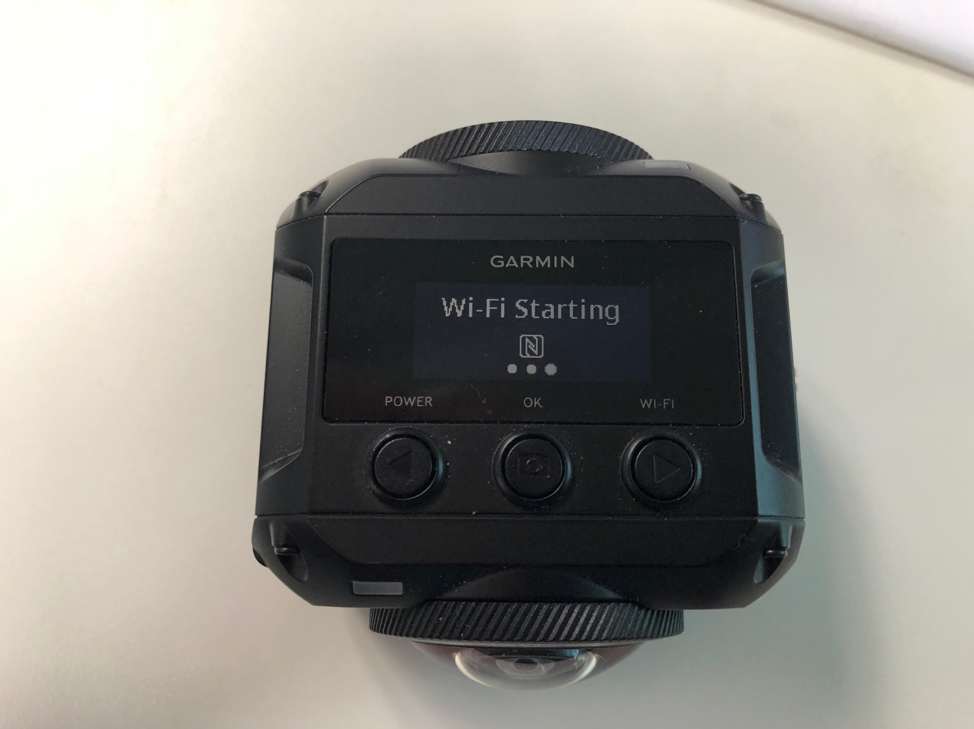
If done correctly, you will get a notice that the WiFi is starting up.
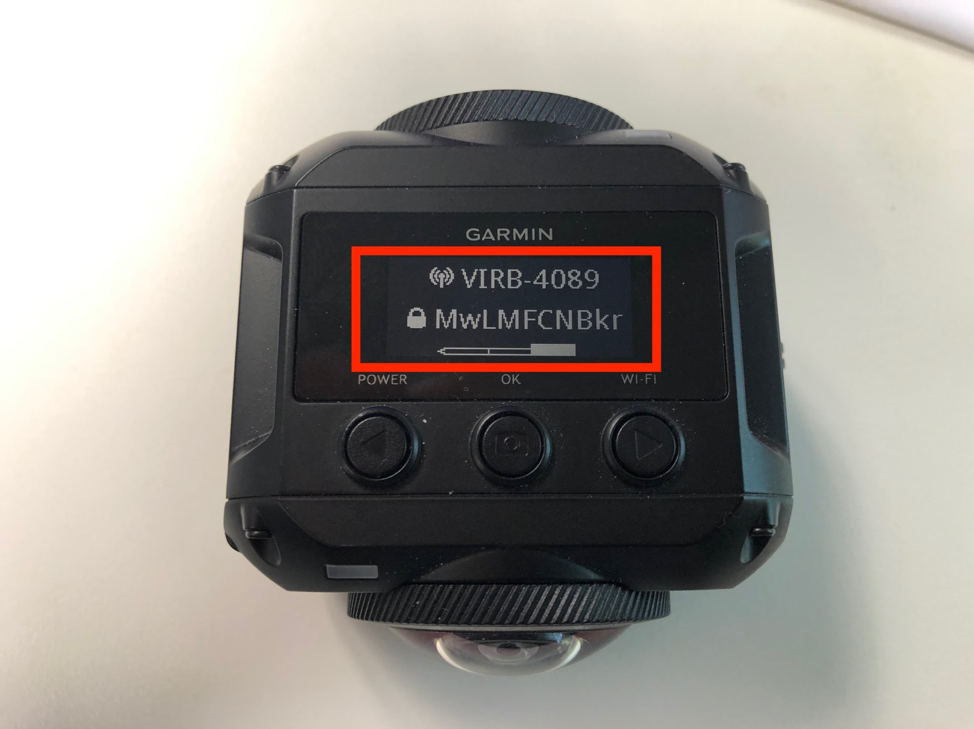
Once finished, the screen on the camera will display the name of the Wi Fi network you will look for on your phone as well as the password for the network.
- Now go to the WiFi settings on your phone.
You should see the network show up in your available networks.
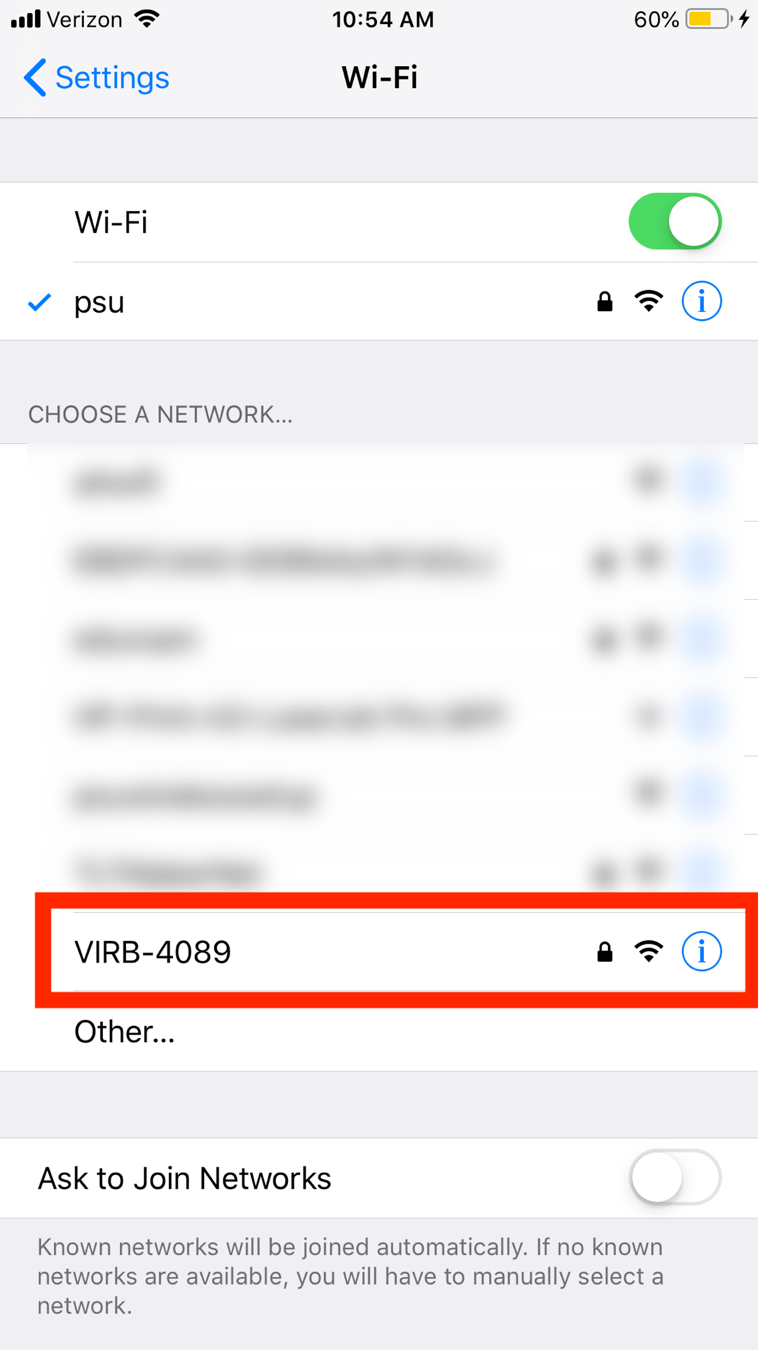
- Connect to the network using the password on the camera display.
- Once connected, you can now open the VIRB app on your phone.

If done correctly, you should see a live preview of your camera.

You are now ready to record.
- Press the red button at the bottom of the application to begin.
