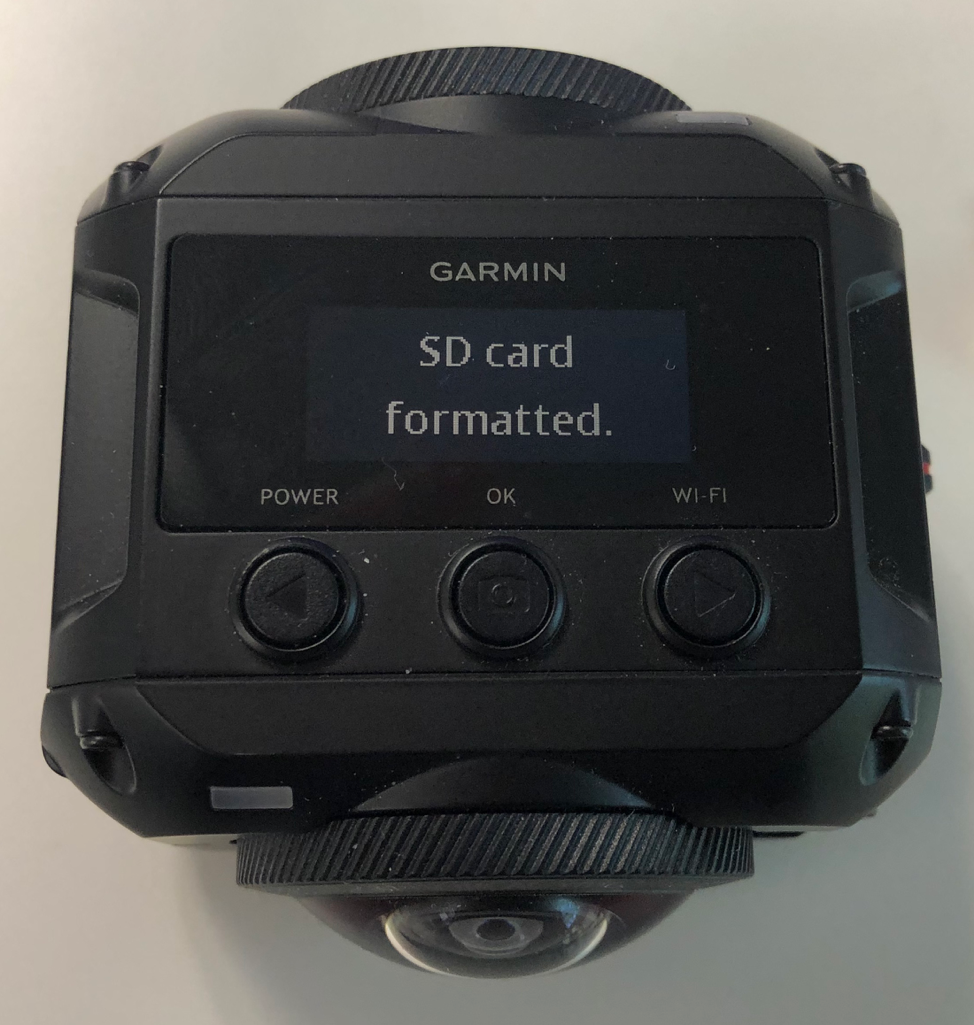
Formatting the SD Card with the Garmin VIRB 360
- Power on the camera by pressing the power button on the top of the camera. This is the left most button on the camera under the Power heading.
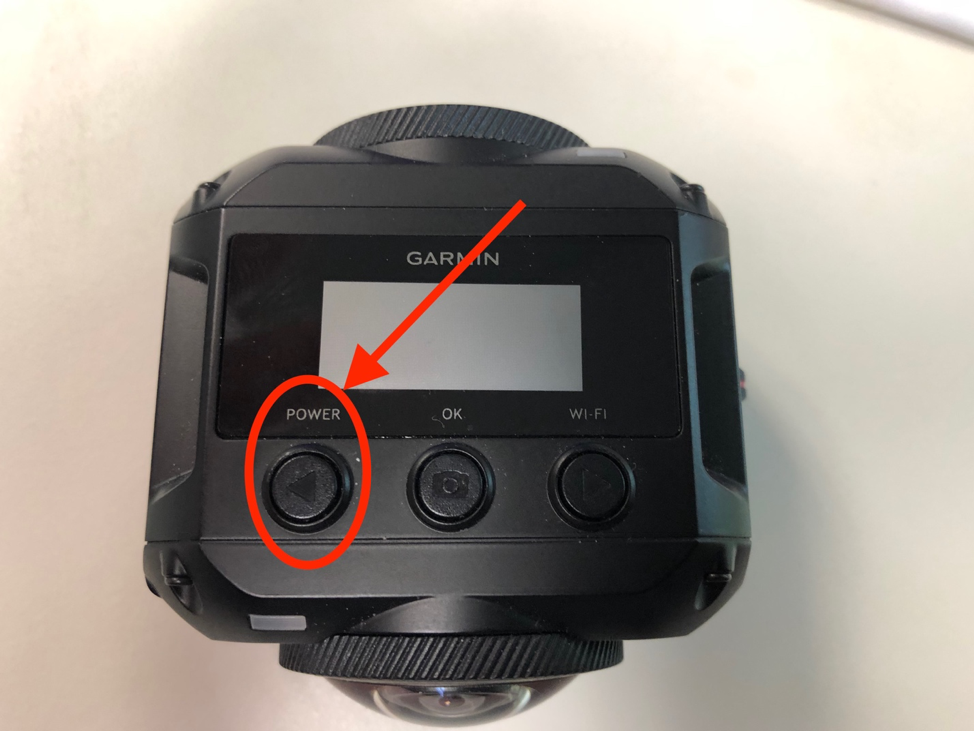
Once the camera is on, you will need to cycle through the camera settings.
- Press the right most button on the camera under the Wi Fi heading.
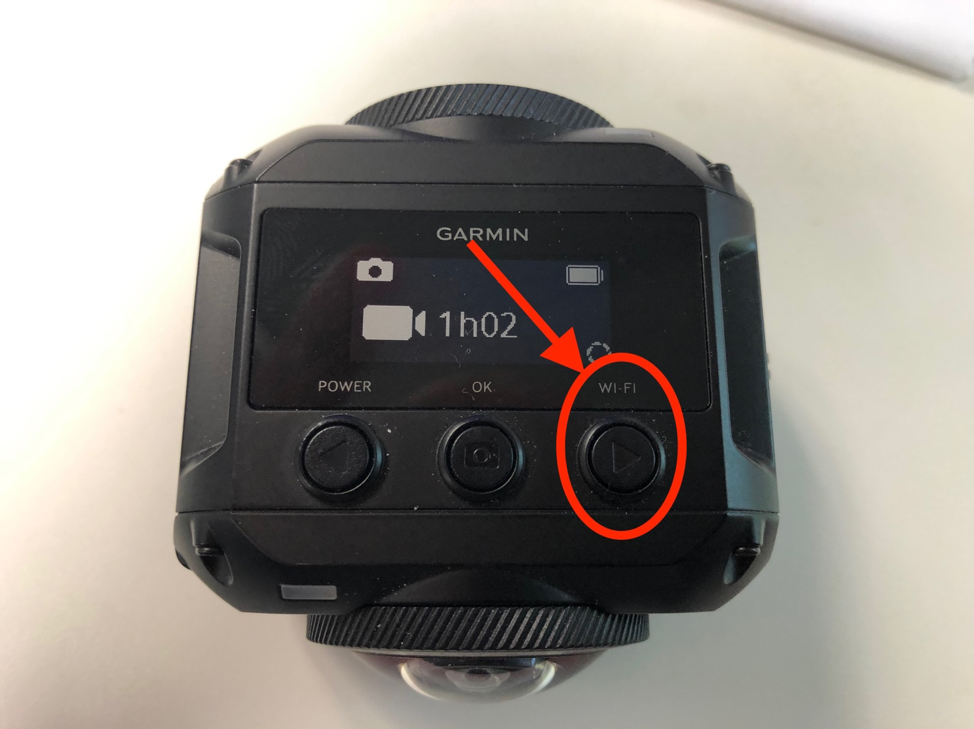
- You will start to cycle through the camera settings. Keep pressing this until you get to the Setup options.
- Then press the OK button in the middle of the camera.
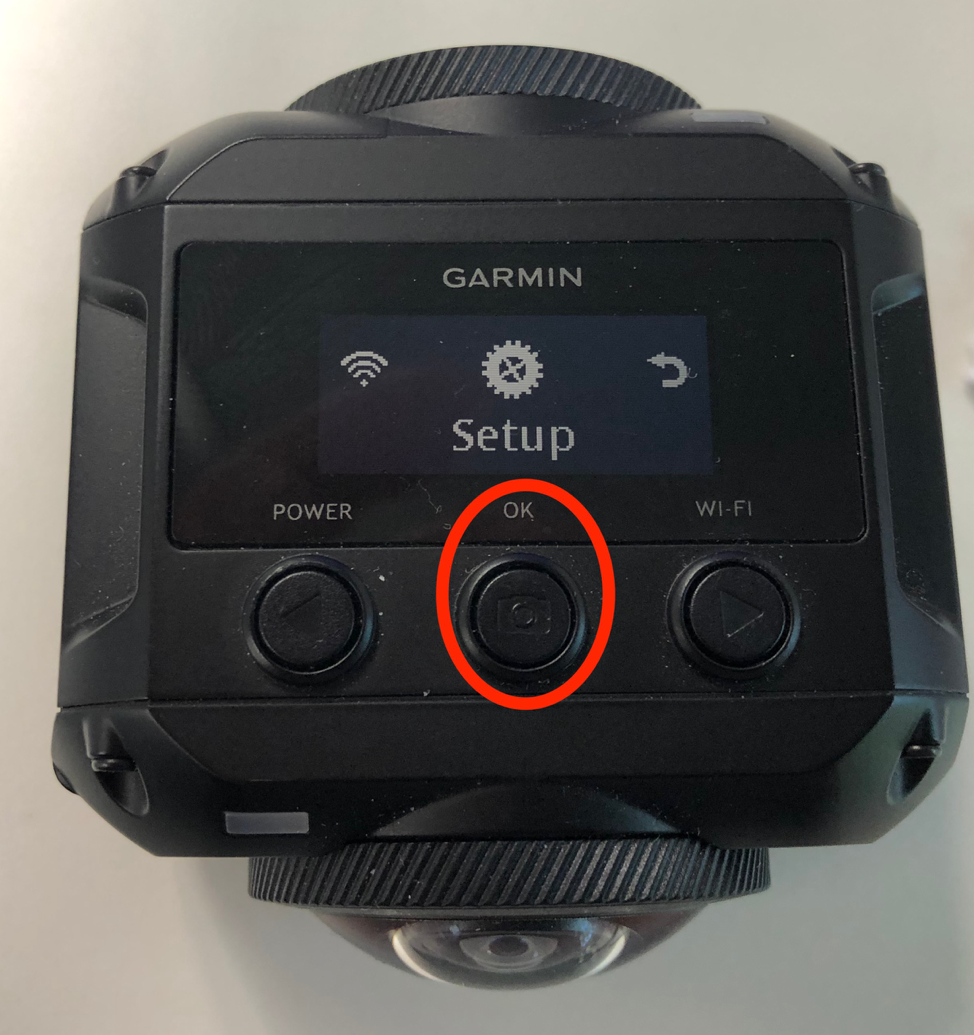
- On the next screen, cycle through the setup options using the Wi Fi button on the camera that you just used until you get to the SD Card setting.
- Then Press the OK button on the camera again.
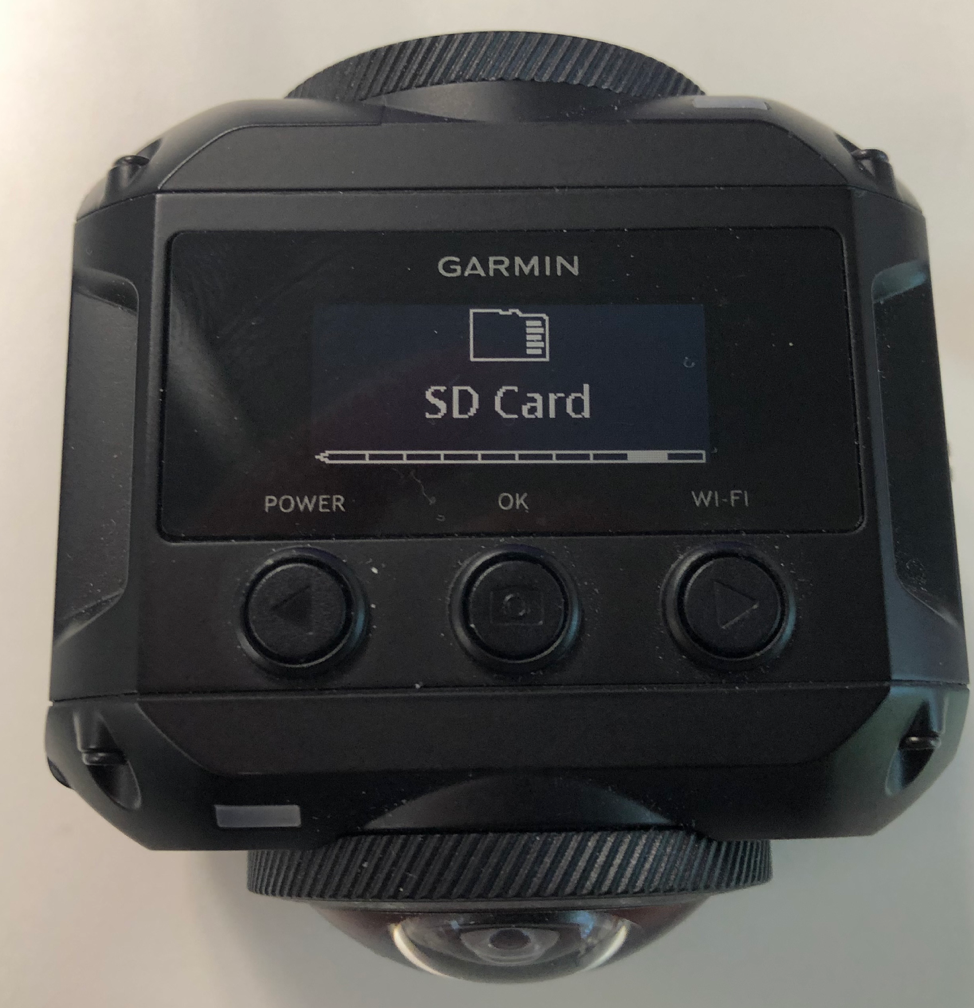
- On the next screen, press the OK button when you see on the display Format Card.
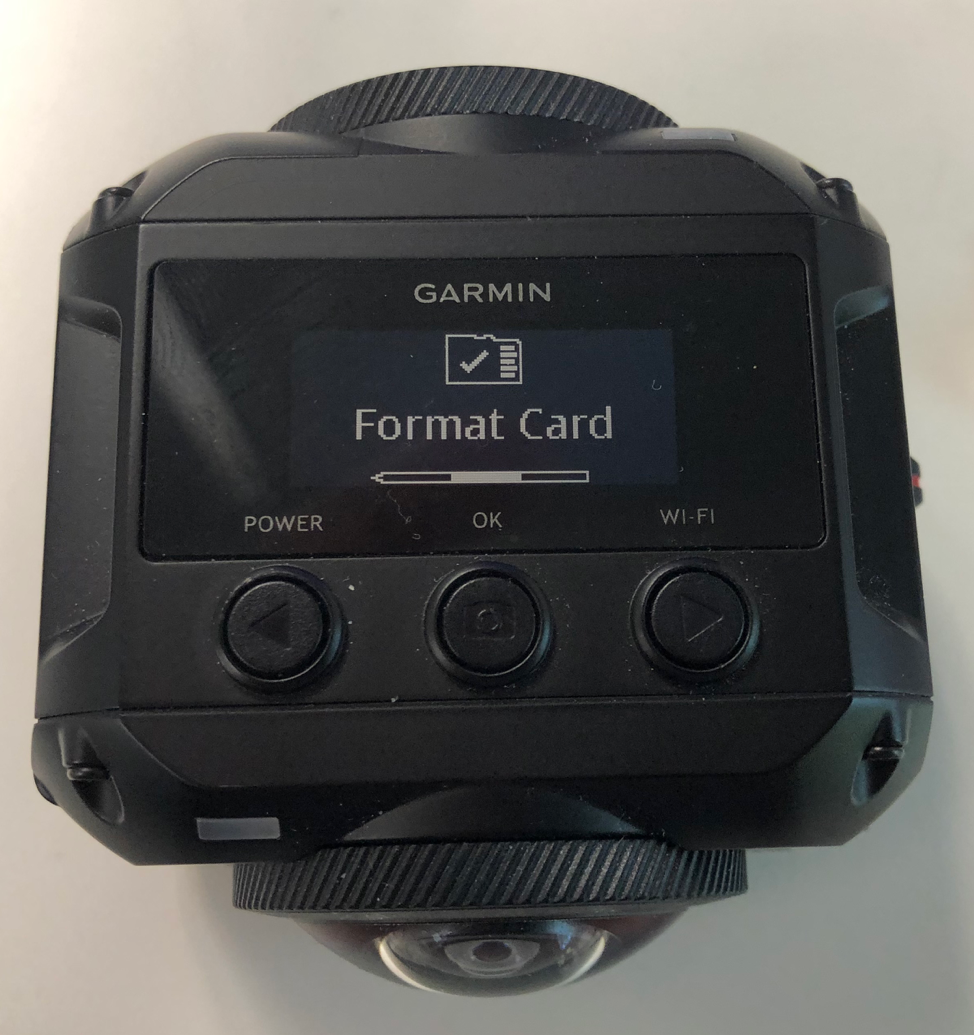
A quick warning message will pop up on the camera to let you know that formatting will erase the card.
After a few seconds, you will get a prompt on the camera asking you if you’d like to Format the Card.
- Press the Wi Fi button to confirm that you want to format the card.
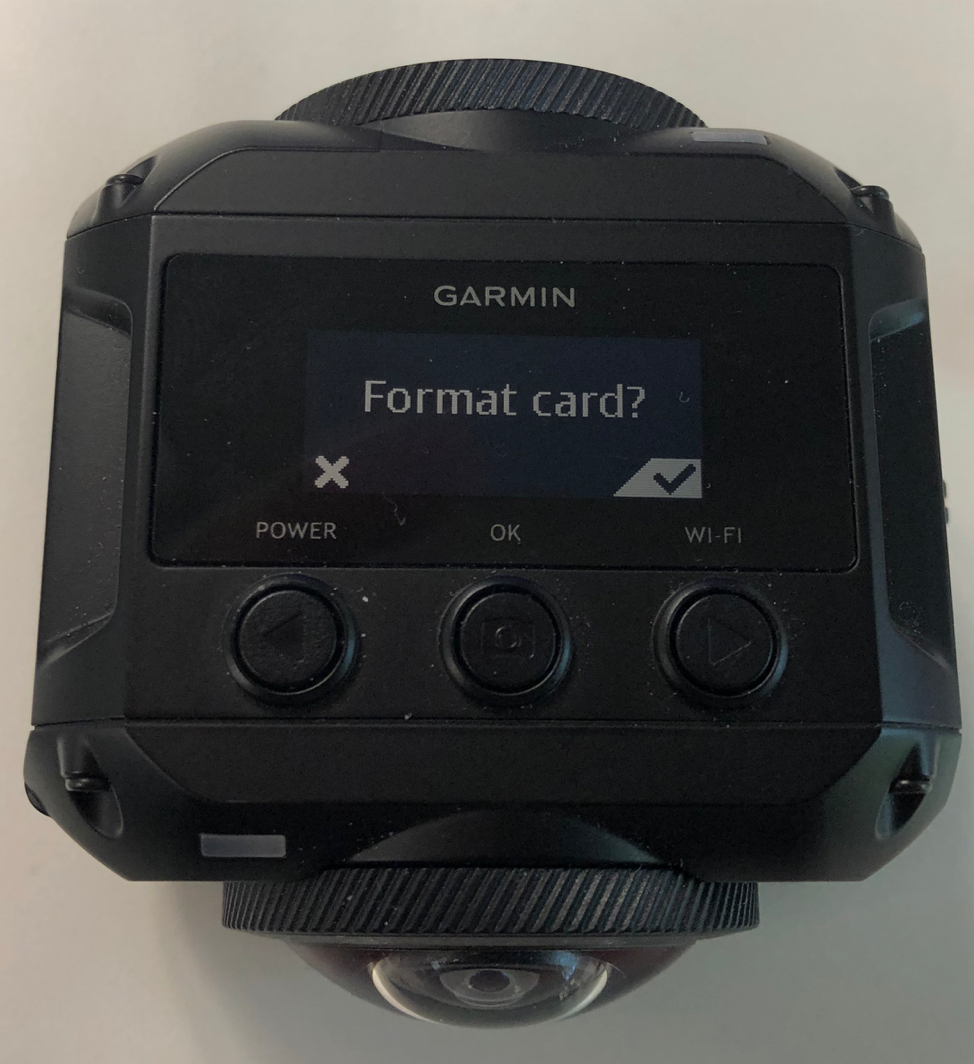
- Press the OK button and the card will start to format.
When finished, you will get a notice that the card has been formatted.
