Changing the Video Settings on the Nikon KeyMission 360
- Download the Nikon Keymission Utility software if you have not yet done so.
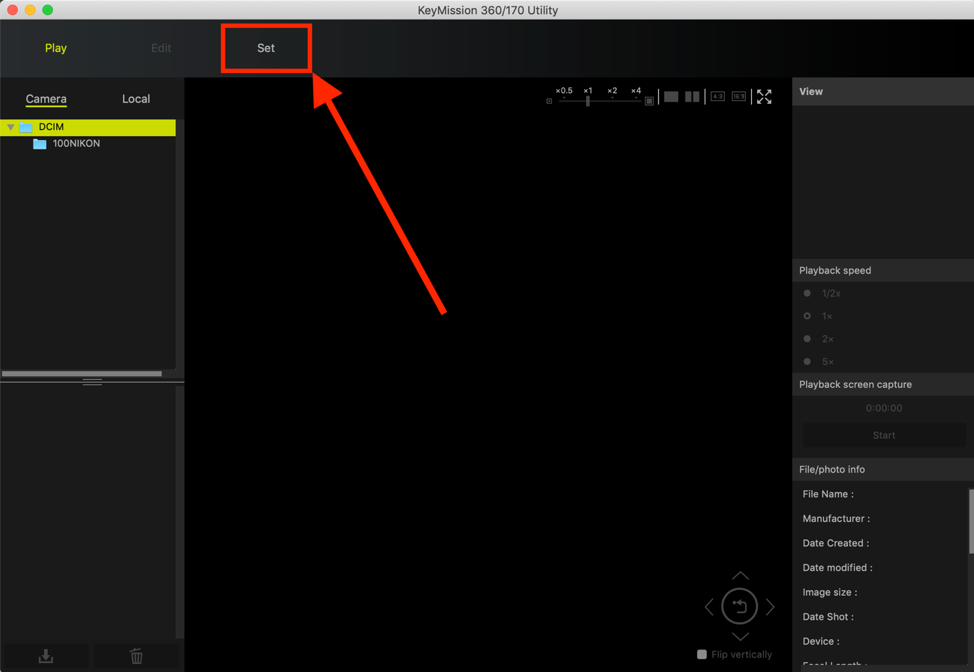
- Plug the camera into your computer and open the Nikon KeyMission Utility application.
- Click the Set button in the top left corner of the interface to open up the camera settings.

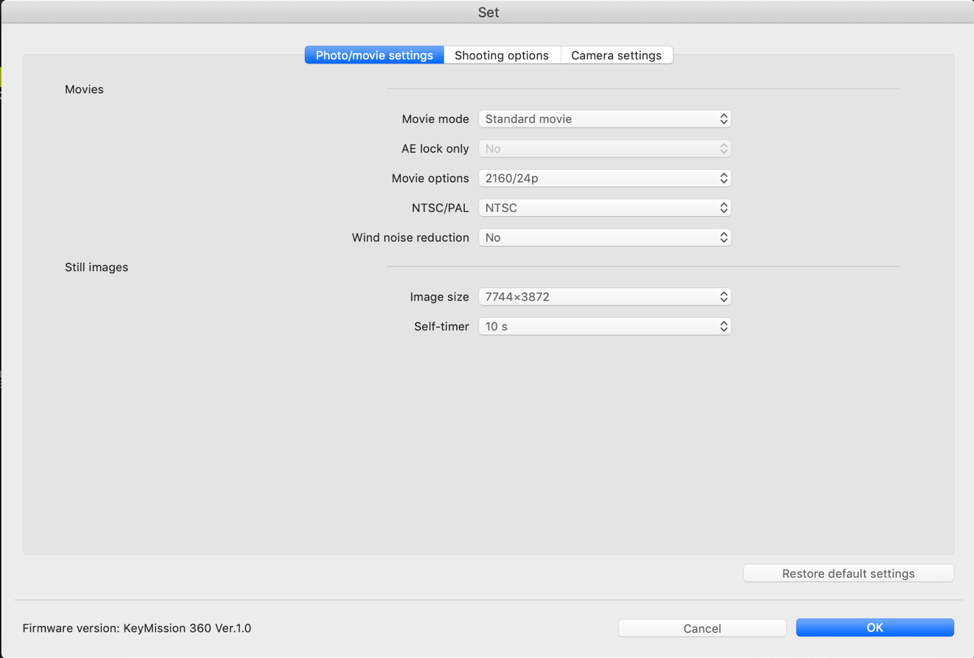
This will open a separate window that will show you several different settings you can change.

This window will allow you to change the video settings on the camera. We will cover the recommended settings for the best results.
Movie Mode
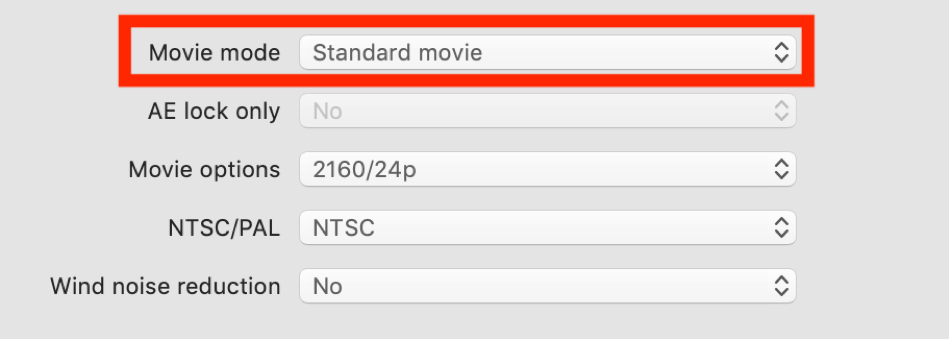
The first setting you can change is the Movie Mode setting at the top of the window.

If you click this drop down menu, you will see several different options that you can choose from. These are Standard Movie, Superlapse Movie, Loop Recording, and Time-Lapse Movie.

It is best to leave this setting on the Standard Movie. The issue with the other options is that they significantly reduce the pixel count which could result in a much poorer quality video.
Movie Options
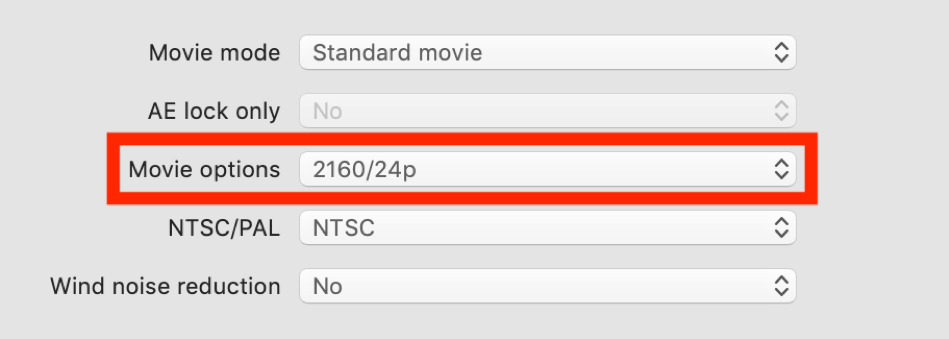
The next setting you will want to check is the Movie Options setting.

Make sure that these settings are on the highest settings possible, which is 2160/24p. Lower resolutions tend to look much worse when the videos are put in a headset.
Photo Settings
The last setting you will want to check is the photo settings. These settings are located just below the video settings.

There isn’t much to change here, so you will just want to make sure that the Image Size is set to 7744×3872 for the best results. It also suggested that you make sure the Self-Timer is set to the maximum time which is 10 s.
These settings should give you the best results while working with this camera.
