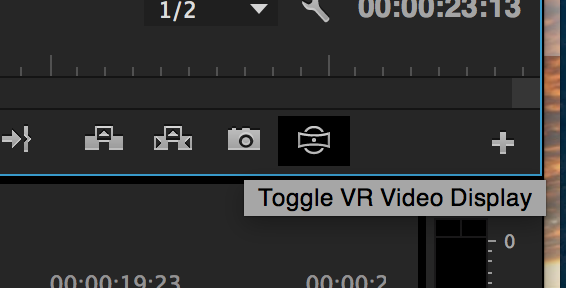
It is a good idea to continually view your project in 360º viewing mode while editing in Adobe Premiere to make sure any edits like titles and transitions look correctly aligned.
To do this, first add the VR button to the Adobe Premiere interface.
- Click the plus sign underneath the preview window which is in the top right quadrant of the interface.
- Drag the Toggle VR Video Display button to the toolbar at the bottom of the preview window.
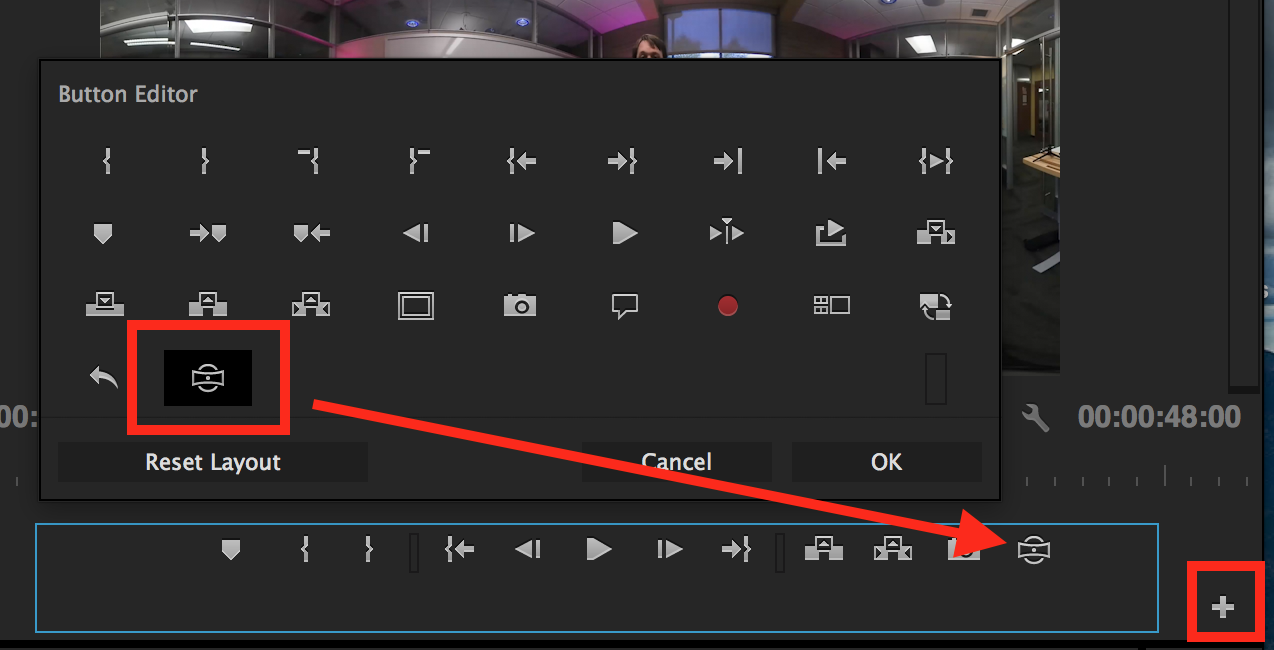
- Click the Toggle VR Video Display button to change your preview window mode to VR.
You’ll notice that it doesn’t look quite right. We need to update one more setting in order to properly view in VR mode.
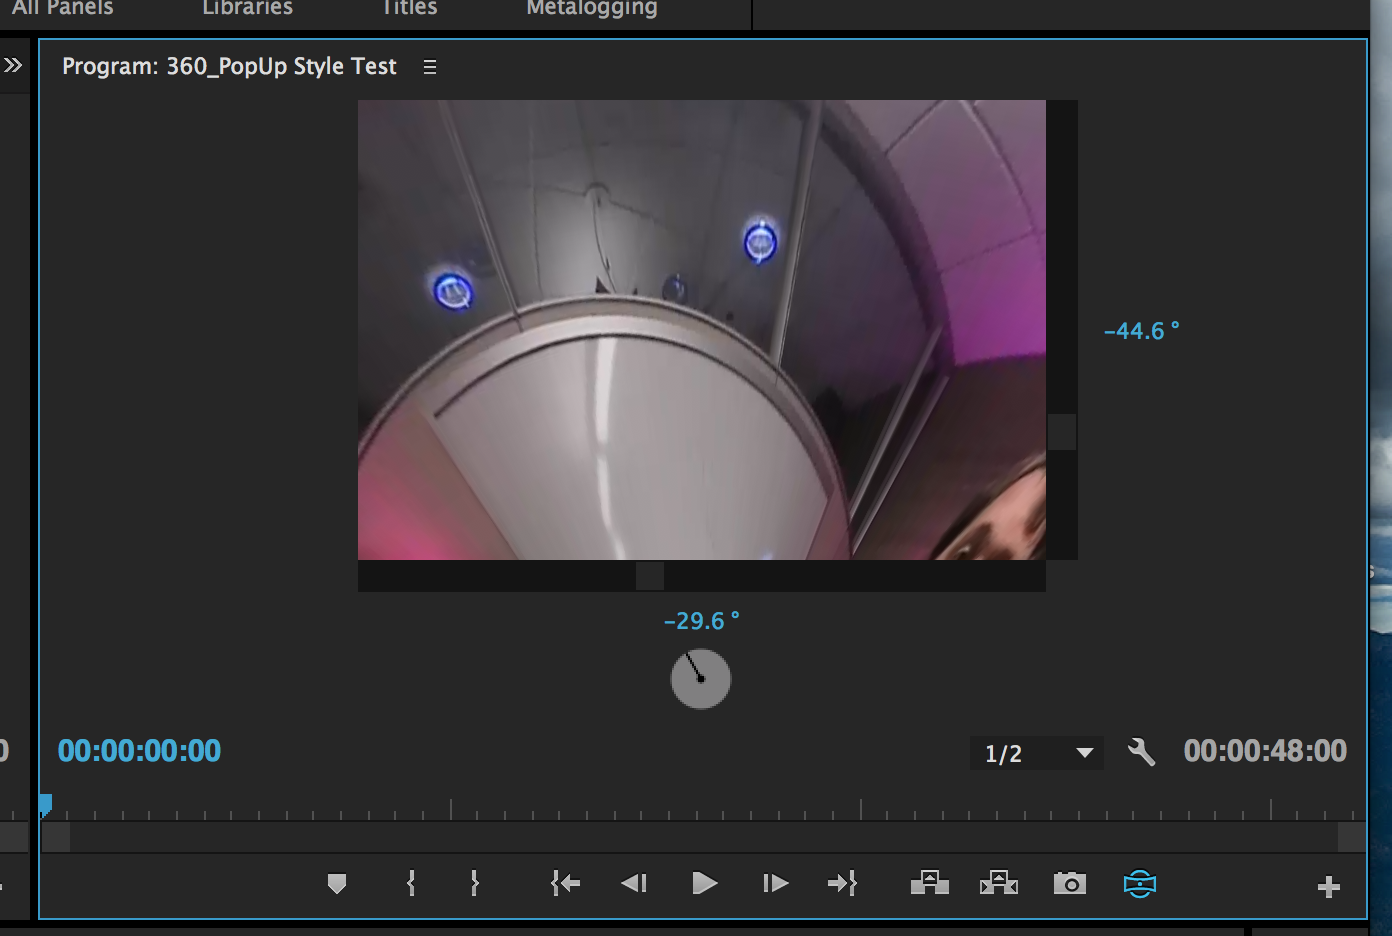
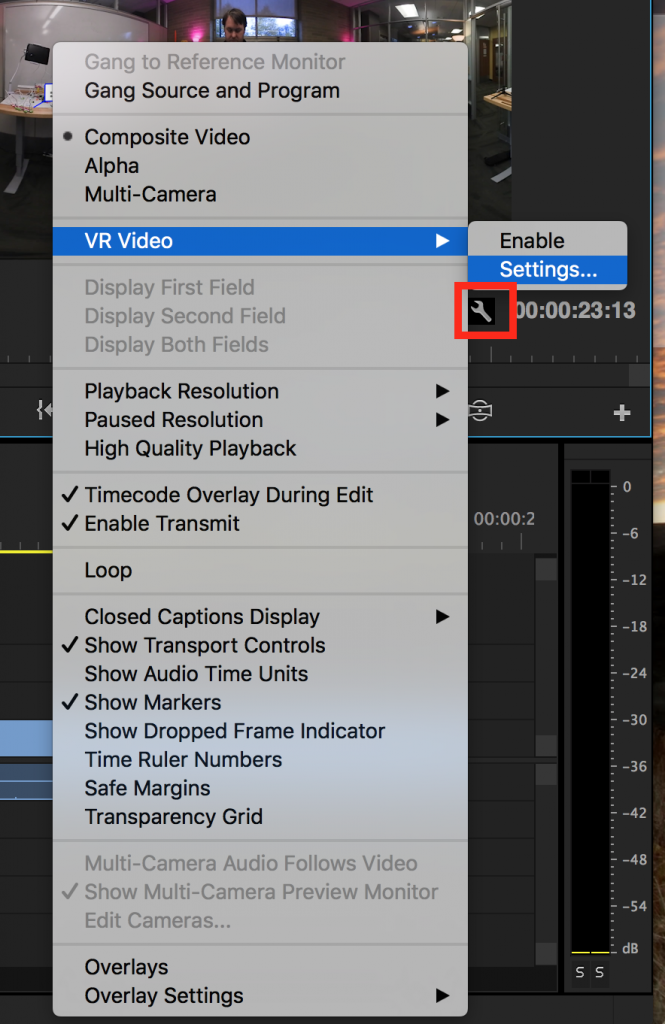
- Click the wrench icon below the video display.
- Select VR Video.
- Select Settings from the secondary pop-out menu.
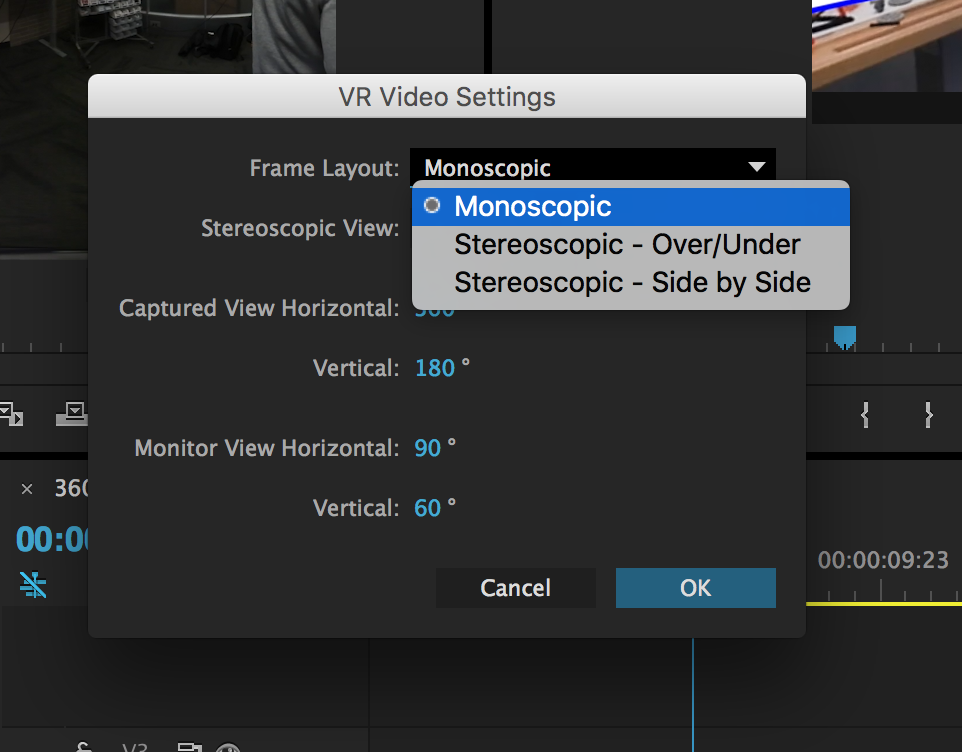
- From the pop-up window that appears in the center of the screen, select Monoscopic from the Frame Layout dropdown menu.
- Click OK at the bottom right hand side of the pop-up window.
- Now that the settings are updated, you can now toggle from VR Mode to Normal Mode by clicking the Toggle VR Video Display button in the bottom right corner of the preview window.
